HOME

Sunday, October 31, 2010

Hurricane Tomas and whirlwind Tony create an unexpected dilema.

Let's set the scene... we're adamant about being as environmentally friendly as possible to see if you can live very cheaply, very comfortably and very healthily while using less than 10% of the energy and resources that we did in our previous normal lives in a house, all of the conveniences, a couple of cars and three kids.

So, we're in the early years of our adventure, wide eyed and bushy tailed when everything is new and cool... even showering with a hose off the back of the boat on a crowded dock is fun and not an inconvenience. But, there is temptation... yes, lots of temptation, and this time it comes from two unexpected sources... a great friend and a hurricane.


Hurricane Tomas is the first player in this chain of events... it's south of us and we're watching it closely for the "Crazy Ivan" turn which it's predicted to make. If it makes the turn on the next couple of days we will be in trouble, either way the result of a close storm is heat and rain. We're stuck on the dock at Saint Maarten Shipyard while we finish our mast and get it back on Odessa. This means that we don't have any awnings up with nothing to support them and it's crazy hot in the boat, 80f/27c at night and 90f/32 during the day with the hatches open, but with rain we have to close the hatches and suffer the consequences and an additional 10 degrees.

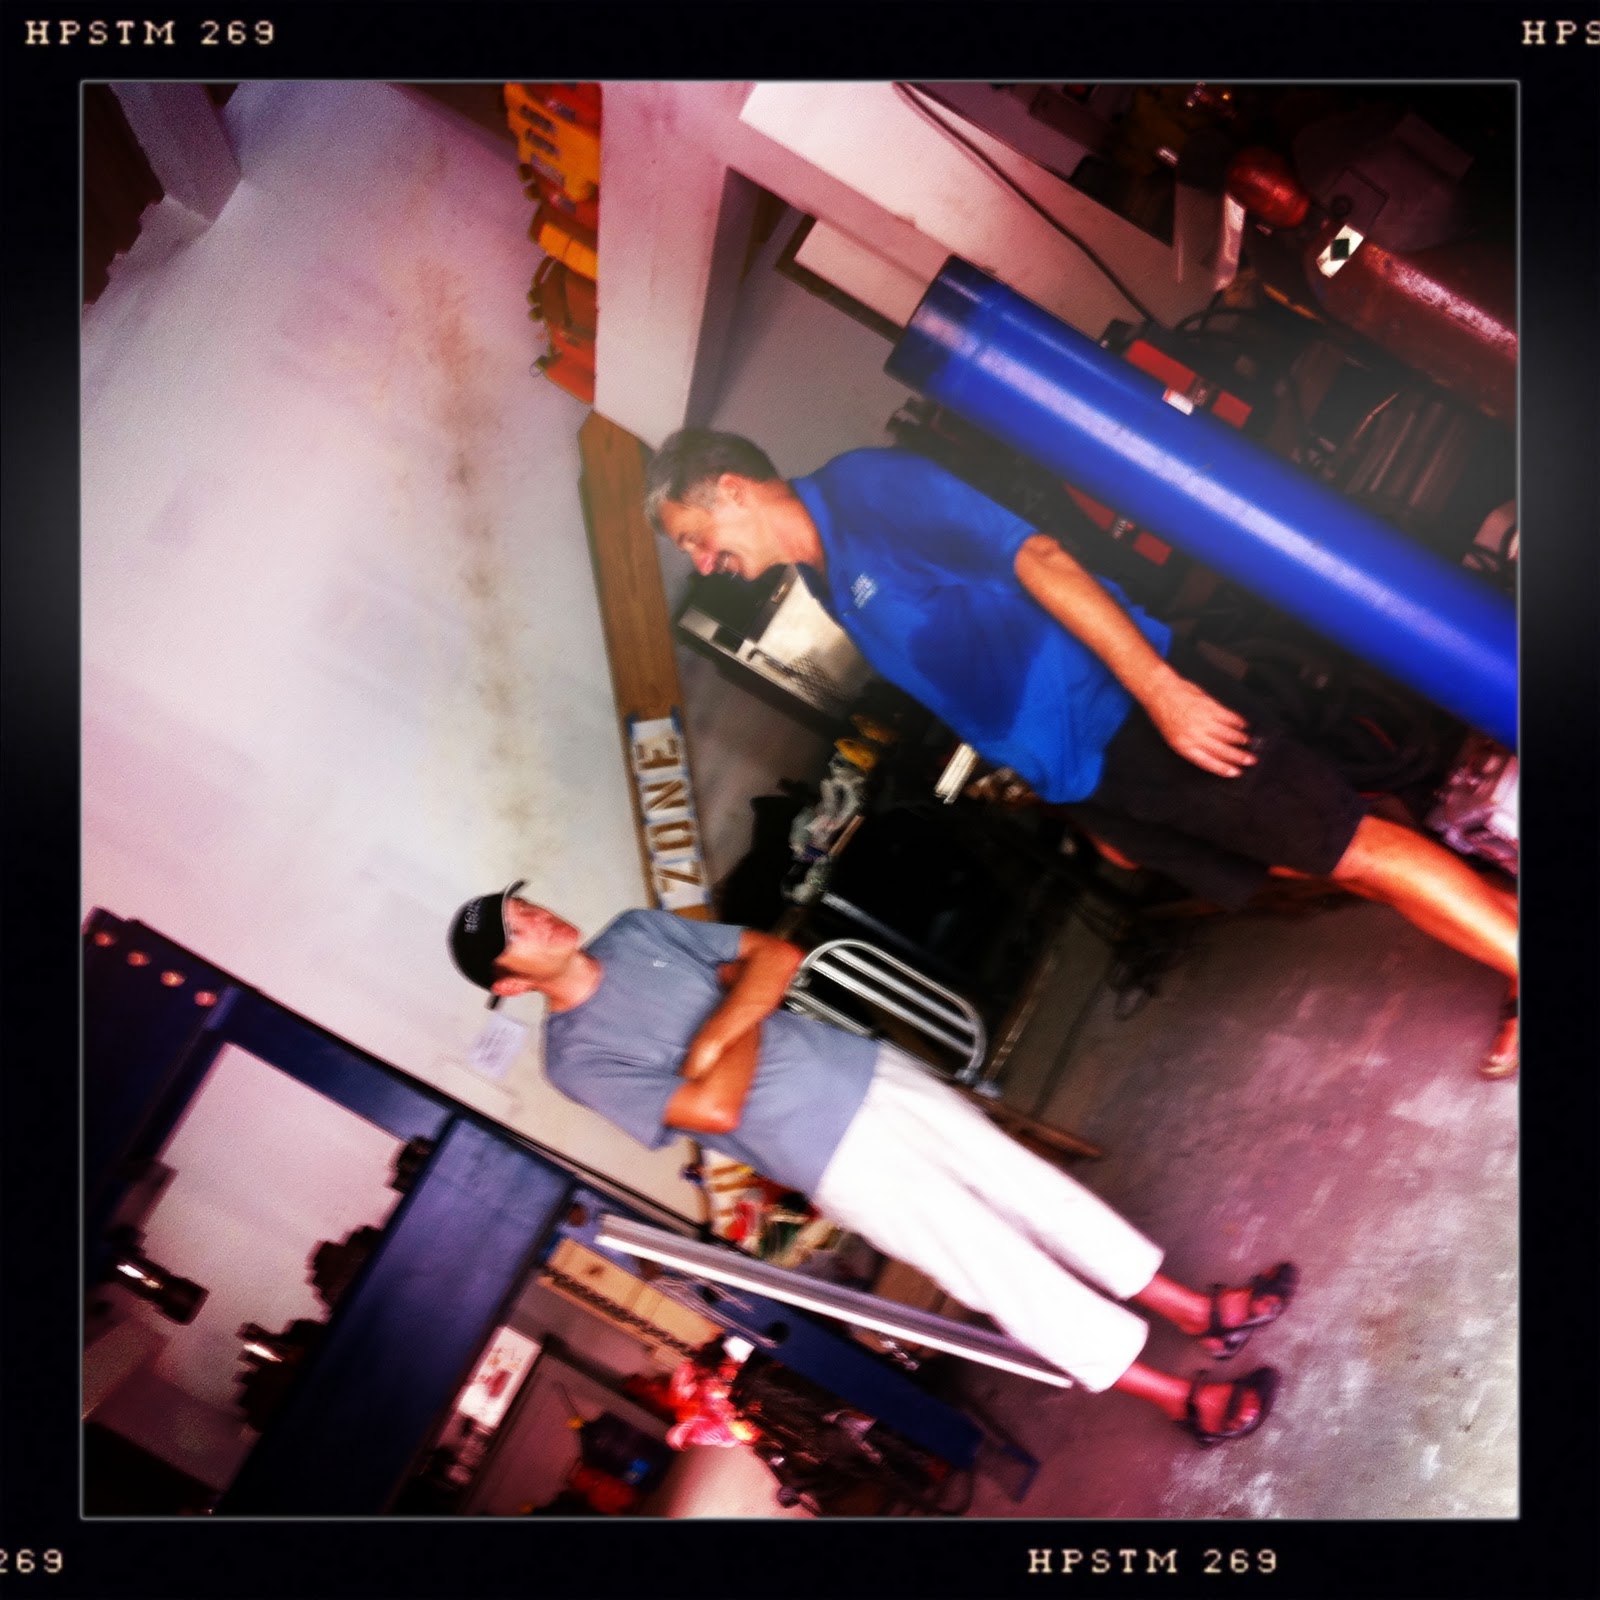
Enter Tony, who along with his family Joanie, and Jesse have become very close friends and we enjoy their company immensely,  especially Tony's boundless energy and help. "I have a couple of portable marine air conditioning units, use one to cool the boat." He innocently said, not knowing the dilemma his generosity would create.


It felt weird, even wrong to be thinking about using such a power hungry item with only one self indulgent result, "personal comfort". Are we turning away from our goal, will we become slaves to the very grid based conveniences that we're getting away from?.. "It's bloody hot, so let's plug it and and see where it goes".

In the words of Yoda... "Not so easy this convenient installation is". Odessa only has one normal deck hatch in the middle of the boat and it's too small for the AC unit which must be placed over a deck hatch. The only option is the very large sail hatch in the forepeak (front cabin) which is way too big. Get some plywood, cut holes, line everything up, try to level the AC unit, a curved deck means sealing all the way around and finally strapping the whole lot down so that it is secure. a few hours later and it looks right.

We finally had everything in place and with the hatches closed the temperature rapidly began to creep towards the 100f/38c mark. Plug her in and away she goes, quietly the cool air began wafting from the vent in a seductive flow full of promise. The bow cabin cooled down nicely, it's a shame that it's full of sails, ropes and awnings and we can't use it until the mast is up. The warm air vent into the AC unit is right next to the cold air out, so we stuck a powerful little Venturi fan in front of the cold air out and it sucks the cold air blowing it nicely down the middle of the boat. Unfortunately Odessa's foredeck raises towards the bow, so we can't quite get the AC unit level and this causes the condeznsated water to drip inside the hatch... "bring out the buckets". It's actually quite a good little water maker producing about a liter of water an hour.

The AC unit holds the temperature at 90f/32c during the day with the hatches closed... so that's an improvement. But at night it's a seductive force keeping the whole boat at 72f/22c of lovely dry air. We woke up this morning at 4:30am... very early during heavy rain to check on the position of hurricane Tomas. We made coffee in dark uncomfortable silence, both Doreen and I were unsure of the situation we found ourselves in and were thinking the same thing... "it feels really good, but is this right?'

Fortunately, even though air conditioning is very nice, we could only use it when Odessa is at a dock with shore power, so we don't have to commit to the evils of singular, power hungry "comfort" devices. We can be happy knowing that once Odessa is back together and anchored offshore, the lovely Caribbean breeze will waft freely through the cabin night and day, and the awnings will mean we can leave the hatches open when it rains. But for now, while we're working everyday in the yard with the heat and humidity, we'll take all of the cold air we can get... thanks Tony, and of course Tomas.

Thursday, October 28, 2010

Nothing like a big new stick to make your day (part one)

OK... puns aside, we have finally, almost, just about finished the mast rebuild. Yes, that's right, a total rebuild.

NOTE TO ASPIRING CRUISERS:
If you buy an old boat... she's going to need a new rig, or at least new standing rigging and chain plates (See Chain Plate Bling Bling post). When buying Odessa we succumbed to the same buyers denial, "oh, the rig was solid, just a couple of things here and there"... But too many unknowns, bad turnbuckles, rusty spots, and several stories from cruisers about rigs coming crashing down... even on boats only 5 years old, and we took the plunge when we pulled the rig in January. After all, the rig is a huge safety issue and you must be confident in your boat if you're going to make offshore passages.

So, here we are about a year later and finally we can see the light at the end of the tunnel. We stripped the mast to the bare stick and had a local painter prep and paint it the original MacGregor Black. To be honest the paint job kind of sucked, so we had him reshoot it a second time right before we left for paris... and all in all it took 12 weeks, not one week... ah, island time.


The delay wasn't bad considering that we also changed from rod rigging to the new Dynex Dux synthetic rope rigging. Colligo Marine took care of designing and supplying the Dynex Dux and all of the fittings, and I must say that John Franta is awesome. But, we are still stuck in the world of traditional sailing for some parts and the mast fittings are NavTech... which took 12 weeks to come... this sounds familiar.

More on rigging in another post... it's a huge subject and we need to run our rigging offshore to have first hand knowledge before we start mouthing off about it... but so far our new ideas are looking very good.


We were forced to buy yet more bling for Odessa... a nice new Harken winch for the mast. Out of the four mast winches we had, one was past repair. So we scavenged around and managed to score a 40% off deal from Budget Marine on a new Harken 40 STX... thanks to the great guys at Budget Marine who continue to help us squeeze every ounce out of our budget, now we have four brands of winches on the boat.


We also replaced the very old and massive spinnaker blocks on the mast head... technology has halved the size of everything from blocks to rope. The new synthetic materials have crazy strength and none of the corrosion issues of old gear. For the rich guy it means lots of shopping, but for cruisers like us we have to be careful... anything exotic tends to need replacing in a year or two, not ten years like the old stuff. We don't plan on flying Odessa's spinnaker unless it's very light wind... it's massive and has the sail area of the moon. So we got some mid sized Lewmar blocks and have the biggies onboard if we get all amorous about going for some downwind records. Odessa is a downwind freight train capable of over 25 knots and has broken several records in her life so far... more like surfing than cruising.


The drama of the roller furling is now over... even though it was a huge budget hit and lost Doreen her water maker ... well, for a while. We now have a new Furlex 300S for the Genoa and the old ProFurl 45 has been cut down and replaces the old Jib furler which was a Frankenstein made up of so many weird parts with the strength of a MacDonalds thick shake straw. You have to use stainless wire in a roller furling so we used the trick stuff that has shaped strands and no stretch... a couple of hundred dollars more but well worth the investment and less than rod.


Rope... man this stuff is pricy too, so take a good look at the running rigging if you're buying a boat. Odessa has a lot of brand new running rigging from the previous owners, but we have had to replace some halyards because the originals were wire and rope hybrids, and we have replaced the mast sheaves to run rope throughout the boat, no stainless steel. These "running rigging" ropes are used to hoist sails up the mast, up the roller furling, even to lift your dingy out of the water and also for sail control. So the halyards that lift the sails up the mast are 180 feet long and carry very heavy loads under full sail. Most ropes are Dynex core these days and 12mm thickness has a breaking strain of around 14,000 pounds, or 7 Tons. But for cruisers like us, these are expensive... up to $1,000 each. The other ropes are also long, so doing the math is scary and it's well worth taking care of your ropes. Wash them at least once a year in mild soap and watch for any chances of chaffing.  If you have a smaller mast you can get lots of deals on eBay for leftover spools, but Odessa has a 75' mast so buying full spools is the way to go.


I must thank Doreen for taking these lovely pictures... we had a frustrating morning when we discovered that two very important parts of our new rig were missing. Doreen whipped me into shape and we achieved a huge amount of work in the heat of the day... then this lovely light sprinkle of rain cooled us off as if to tell us to stop work and enjoy the evening. Doreen grabbed her camera and captured the moments in the most unlikely conditions... in a nasty, dirty boat yard full of mosquitos and stray dogs.

We have learnt an awful lot on this project and I'll do a more complete post in part two... right now the wind has dropped, the air blowing through the boat is cool and the kids are busting to play a board game before bed.

Thanks to everyone who's following our adventures, we really appreciate the emails and most of all comments on the posts, so please comment away, tell us what you think, what you want to know more about and even if you think we suck... we're just trying to inspire people and need you to guide us. Add us to your bookmarks and visit during your morning coffee, tea or toast.


Thursday, October 21, 2010

LAUNCH - Phase one "Get her in the water already"

OK... there's no way around it, everyone is nervous on launch day and it's been exactly one year since we first launched Odessa. The sight of your hard work dangling precariously from an old crane is enough to churn your stomach. We arrived early in the morning, spent the next hour waiting for Harry (the crane driver) to arrive... he was limping badly which wasn't a good sign. The next hour was spent watching the yard guys standing around the crane scratching their heads about the very large pool of oil spilling out of the crane engine... our confidence was waining.


But the sun broke through the morning clouds and the action began. Firstly, the yard guys have done this a thousand times, so trust them... even if it looks like their heading for disaster. Brief with the crane driver and crew before the lift begins and let them know when you want to do checks, like making sure the through hulls on the boat are open and not leaking, when you're going to run the engine etc. If you need anyone onboard to handle lines and which way you want to head off the dock.


We are also going for plan B on the running gear, propeller etc. The first time we just cleaned everything and painted metal primer and bottom paint on the skeg and shaft... "barnacles know no limits" and we had to scrape every 4 weeks to keep the prop clean. You can paint it with "prop speed" a resin that many power boaters use, but this time we're trying an old time method... polish the prop and shaft, wax them and then run greasy hands over them to create another barrier... so, we'll see how it works this time. I'll also be jumping over the side tomorrow morning to put a black plastic bag around the prop... this is apparently foolproof as long as you remember to remove it before heading out.


It's funny how a boat that looks so big when it's on land, can look so small when she's plopped into the water. Everything worked out well and we motored around to the other side of the dock about 100ft away. This will be our home for a couple of weeks while we finish rigging the mast... then it's back around again and repeat the process with the old crane, which will drop in the refinished mast with new rig.


Trying to look confident and relaxed is tough sometimes.


Do they know that she can't go flat against the dock wall because it's too shallow?


Oh... they do know what they're doing.


We're rigged with Dynex Dux for everything and unfortunately just found out that we had a roller furling that was not rebuildable. The final solution was to take the Genoa roller furling which is a profurl 45 and cut it down to replace the jib (working foresail) furler and have a new larger furler made for the genoa. It's a big hit to our budget, so the water maker will have to wait for a while (sorry Doreen). There's no shortage of projects, so hopefully "a while" will be long enough to earn the funds and focus on the right water maker solution... it's complicated and we first need to define our water usage in the real world. Ah, but at least we can forget about it for now and think about spreaders and turnbuckles.

Tuesday, October 19, 2010

An "Electric Head" makes everyone happy.

After 6 months of clogs and pipes crusting solid with calcium crystals. We made the jump to an electric toilet. NOTE : Our kids do not pump the 21 times to get all the waste out of our nine feet pipes (7 pumps per yard) so we had more smelly problems than I care to mention.


It's not so bad clearing pipes on the dock, but like everything the head is a cramped space and scraping calcium deposits from the fittings is not fun.


We did learn the secret to avoiding calcium build up in your pipes, which is what happens with salt water flushing pee. (Place a cup of white vinegar in the toilet and hand pump half way through the out take hose and let sit overnight.) There is a problem with this however, the vinegar strips away the lubricant from the manual pump. The result is a sound something like the mating call of a moose, who tends to call 21 times at all ours of the night. But, for a family of five it was no solution at all. We later found out that you need to follow the next day with olive oil... that's the thing with advice, it tends to be incomplete and it all began to sound like a recipe for endless complications.

So,.. the advice of old sea dogs is always have a manual pump toilet, because there are no electrical parts that will fail. But, the advice from our cursing friends with families on board is to upgrade to an electric toilet, keep a spare pump on hand and keep your family happy. Especially the Captain who usually gets the job of dismantling a blocked toilet. ( Doreen just informed me she unclogged it once).

Again, everything and we mean everything, on a boat is crammed into the smallest space, and is installed by a builder with neurosurgeon skills and tools to match. So what was an easy replacement idea, quickly became an game of twister.


With Odessa on "the hard" and no hatches open (everything was hurricane ready)... the temperature inside the head is over 100 degrees... free sauna anyone?


Once we had taken out the old toilet and hardware carefully noting the order of removal (yeah right), we realized that the base had been installed when the boat was built and it was now impossible to get it back together the same way. We had shoved our arms into impossible places, made "new and improved" tools to reach those impossible to reach nuts, but putting the new hardware back would require gripping the nuts with a deft touch.... simply impossible.


Zip-ties are your best friend.


So with a bit of a redesign and help from Peter (the fabricator) we finally get everything back together... looking nice. But that led to the next challenge... re routing the hoses and pipes, making it perfect and most importantly, functional. More twister, scraped knuckles and a whole lot of pulling and shoving, and finally the satisfaction of pressing a little button "swoosh" a power flush, sort of like the ones on an airplane... so, now we shouldn't have the 10 t 15 moose calls at all hours, and more importantly, no pulling pipes and smashing them on the dock while our neighbors look on in horror.


The final result and yes, your legs do dangle a bit while seated, but that's to keep the bowl above the waterline... even when healed over. A foot pedestal and some grab rails are the next "Head" project.


If it breaks down while we're at sea, then its going to be a bucket, or over the side if you're good enough without going MOB (man overboard).

NOTE TO THE ASPIRING CRUISER:
Even though 9 times out of 10 the old tried and true methods are best... sometimes modernized equipment does solve the problems that have been around since man took his first sail... and even then you always need a back-up system for everything... enter the bucket.

Thursday, October 7, 2010

Flooding Halts Progress

Sometimes you have to stop and take stock of your situation, and today was one of those days. We've been under the influence of tropical storm Otto for 4 days and despite the torrential rain, flooding and difficult conditions, we've tried to keep going on our list of work needed before we launch Odessa. But on day 4 as we headed back out in the afternoon it was eerily quite, a couple of people wading through the flood waters and the stores all shuttered and closed.

Well, with know where to get the vital 1/4" x 2" machine screw that we needed to finally finish the toilet project... we gave up and pulled into Peter's work shop to find out what was going on. A curfew at 3:00pm was the answer, and given that we'd gone through 4 days of hell, it seemed strange that the local authorities had enforced a curfew so late in the storm. It was 2:45pm so we stayed and chatted to Peter about the inefficiencies of local government on the island and how it should be done of course. At precisely 3:00pm the heavens opened and the rain began an even bigger onslaught on the folks below.


The pathway to the villa we're staying in.


Lagoonies... we can't even get a cup of coffee today.


Everything looks different in the rain.


Spike finds a dry spot and does what we all should be doing.


Doreen makes a run for it.


Our back garden... or is it a rice paddy.

Well it can't always be sunny in paradise and it's been nice and cool this week. Hopefully we can catch up on the loss of time and get back on schedule next week. Ooh, Kung Fu Panda is on the telly.


Wednesday, October 6, 2010

Feel the Power - Batteries and self sufficiency

The goal is self sufficiency, and that means generating enough "off the grid" electricity to meet your needs. We'll it actually means curbing your needs to the power you can generate. After hundreds of hours research, scratching our heads, confusion over watts, volts and amperage,  we finally found the answer in a video clip of an old guy in the mountains. The advice he very eloquently gave is "It's much easier to use less electricity than it is to make more".

So, armed with this new found knowledge, we are adding two large solar panels to Odessa's arch because that's all we can fit without adding dangers on deck. More on solar panels next week when they should finally arrive from Miami.

But, making electricity is only half the story... storing it is the other half, you need batteries, and lots of them. Odessa has a simple "bullet proof" battery bank... six Trojan 6v batteries with lots of the "important" piece of the equation... amp hours.

NOTE TO THE ASPIRING CRUISER:
When you buy an old boat, have new batteries in you refit budget... no matter what the owner or broker might say about their age, they will need to be replaced. One bad battery in the bank brings the whole bank down and you want to know and manage your whole system from fresh... or you'll be frustrated endlessly trying to trouble shoot. I really suck at electrical work, so $1,000 for new batteries is worth every penny.

We took on this project today because it is raining like mad with little breaks, so working inside Odessa seems like a good plan.


There are a huge range of batteries, from size, voltage, wet cell, glass matt, and gel. We're sticking with the old tried and true Trojan wet cell 6v batteries which are rigged to make the equivalent of 3 12v batteries with 235 amp hours each... so 705 amp hours total per charge. Trojan 6v batteries give the longest life and lowest amp hour cost... perfect for cruisers. We'd love more, but space is an issue and batteries are very very heavy... if we reduce the space needed for our old fridge compressor we may squeeze two more batteries into the space, it's all about compromise, give and take, and using new technology to save space on an old boat to be able to add new things.


We worked some deals and manage to get them for $150 each on the island which is cheaper than in the US, so we jumped on the deal and headed for the boat. It took a couple of hours to replace all six batteries... NOTE: It's best to install them while you're at the dock... hauling them up 15ft while the boat is in the yard is a pain... especially when it's raining and decks are slippery. And remember, the old ones have to come down.


Clean all terminals, clean the compartment, you'll not be back in there for a long time... hopefully.
Batteries are very reliable as long as you do some simple maintenance... check the water level every week (wet cell) keep an eye on how they charge and don't let them drop bellow 30% charge. When you replace your batteries you need to charge them and then equalize (boil) the whole battery bank to make them all work together as a team. Your battery charger (we have a Xantrex 20) will have instructions on equalizing, but essentially the charger will overcharge the bank at about 14.5v for a period of time which boils the plates and cleans off any contaminants. Remember this blog is for the new sailor so please excuse the terminology and suggestions that will seem very basic to the experienced sailor. I always remind myself that every experienced sailor was one a newbie.

I hope this simplifies the whole "oh, the batteries need replacing" realization if you buy an old boat... Doreen isn't in the pictures, but she was essential when it comes to lugging batteries around, they are surprisingly heavy and cumbersome... we're off to Odessa now to get the old ones off the boat... nice.

Monday, October 4, 2010

Winch cleaning 101

Is the saying "A family that cleans winches together, stays together?" For us it is.
This was a lot of fun and a chance for us all to get dirty. The assembly line was a thing of beauty.

Allan on disassembling, Simon on degreasing, Izzy on buffing, Devon on sanding. We had so much fun that Devon wants to start a winch cleaning service for the yachties... when we sail from island to island this winter. He has his bucket filled with all the tools and oils/grease he will need. He has even come up with a name, Wright and Sons Winch Cleaners. I think it's just an excuse so that he can run around in the dingy by himself... at 15 and living on a boat, he has no car in his near future, so a dingy is looking pretty cool about now.


Devon at his best.


Doreen joins in


The final result


NOTE FOR ASPIRING CRUISERS:
A broken winch is just a bad anchor or a toe jammer, so basically completely useless... service your winches every 12 months, more if you're sailing a lot. When you buy a boat, check the winches thoroughly, they cost a small fortune. The small mast winches we're doing here are Lewmar 30ST (self tailing) and one Maxell two speed, they're $900 each new and we have 5 winches on the mast and boom, so about $4,500 to replace them all. 

We have 12 winches on the deck which include some big pricy ones so $15,000 if we had to replace those. All in all we had one winch on the mast that was too far gone, so we stripped it for good parts and only need to replace one... I'm hunting around for a deal as it's low season right now. I think that we'll probably have two bad ones on the deck, but the big pricy ones are in great shape and the main winch was replace with a lovely $5,000 Harken electric jobby two years ago. So when buying a boat, make sure that the winches don't make a big dent in your refit budget.


I think that the happy smiles in the pictures might be because we're not living aboard Odessa while she's in the yard and have a lovely villa to work in... for now.


Chain plate bling bling

We made it out of the grip of Earl and started right away on the projects that we left behind.

The list number two.

NOTE TO ASPIRING CRUISERS:
You'll make 10 or more lists for every list, so don't let the list rule your decisions. Things change, new ideas pop up in the shower and there's hours of conflicting advice if you spend time at the bar.

IMPORTANT NOTE TO ASPIRING CRUISERS:
Chain Plates - these are the stainless steel plates that connect your standing rigging to the hull of your boat. Usually they pop up above the deck with turnbuckles attaching them to wire or rod rigging... and they usually look nice and shinny. BUT, if they're more than 10 years old or you don't know how old they are you MUST replace them... or at least remove them and acid test/x-ray them to confirm in your mind that they are solid and won't go bang when you least expect it. Chain Plate failure usually results in the mast and rigging coming crashing down if it's under load at the time, and I've seen beautiful looking chain plates pop under surprisingly little pressure. While you're at it, replace the nuts and bolts and re-bed them with a good bedding compound... you'll sail happier and safer because you did.

New chain plates cost from $300 to $500 each, depending on their "trickness" and how polished you want them. If yours are flat you can make them with a bench drill and some good quality stainless steel plate... just make them strong and polish them up as much as you can... this helps avoid corrosion.


Odessa's chain plates are simply attached... don't look at the rub rail, that's on list 15


The chain plates on Odessa were quite "trick" with double layered sections, bends and turns so... without a major machine shop in our luggage, we had to have the new ones hand made. After asking around and visiting a few fabricators, we found just the perfect place and person for the work... Peter Durkan of E&MSC at Lagoon Marina St. Maarten.

I'll skip the part about removing the chain plates because every boat is different, and I could rant for pages about boat builders only building boats for the original customer... who will own it for a few years and pass on the long term maintenance. Needless to say, removing can be quite a challenge with bloody knuckles and bruises where you don't want them.


This was the easy one!


Devon gets the easy side!


So, Peter acid tested our chain plates and they looked good... well, for about 3 weeks sitting on the bench. But slowly the rust residue began seeping out of microscopic cracks in the bends and where two pieces of plate had been welded together. The next test was to put a welder to them and sure enough they spat like a bugger... welding stainless requires a perfectly clean surface, so this was another indicator that there was corrosion inside the metal. That's the thing with stainless steel, it looks all shiny on the outside, but it's the inside that's important and where the damage happens and you never know if it'll give way.


NOTE: Odessa has a fiberglass hull which is curved and the chain plates follow the curve. The builder had welded two plates together with a slender cone tapering down to the bottom so that the lower half would bend slightly and conform to the curve of the hull. Now Odessa is 26 years old and new fiberglass will move under loads until eventually "setting" after a couple of years. So due to her age the hull was "set" and the slight flat spots where the chain plates are will be there forever... we'll until we fair them out and paint the hull.

So we didn't need the thinner plate and in fact the old plates perfectly showed the curve of the hull, so we just used heavy plate and slightly bent it to the shape... heavier, but stronger, and no welds to weaken the plate.


This job was a family affair and even in the heat we worked as a team... I was very impressed. Anyone who lives aboard a boat knows that the simplest job involves the tightest spaces and usually takes 5 times longer than expected. But it's worth it and even though it's tough to get the kids to help,.. once the whining is over, they get a lot of satisfaction and are proud of the results.